
Why Your Spotting Scope Looks Soft: A Field Check for Focus, Mirage, and Setup Drift

Why Your Spotting Scope Looks Soft: A Field Check for Focus, Mirage, and Setup Drift

Diagnosing Soft Images, in Your Spotting Scope: A Practical Guide

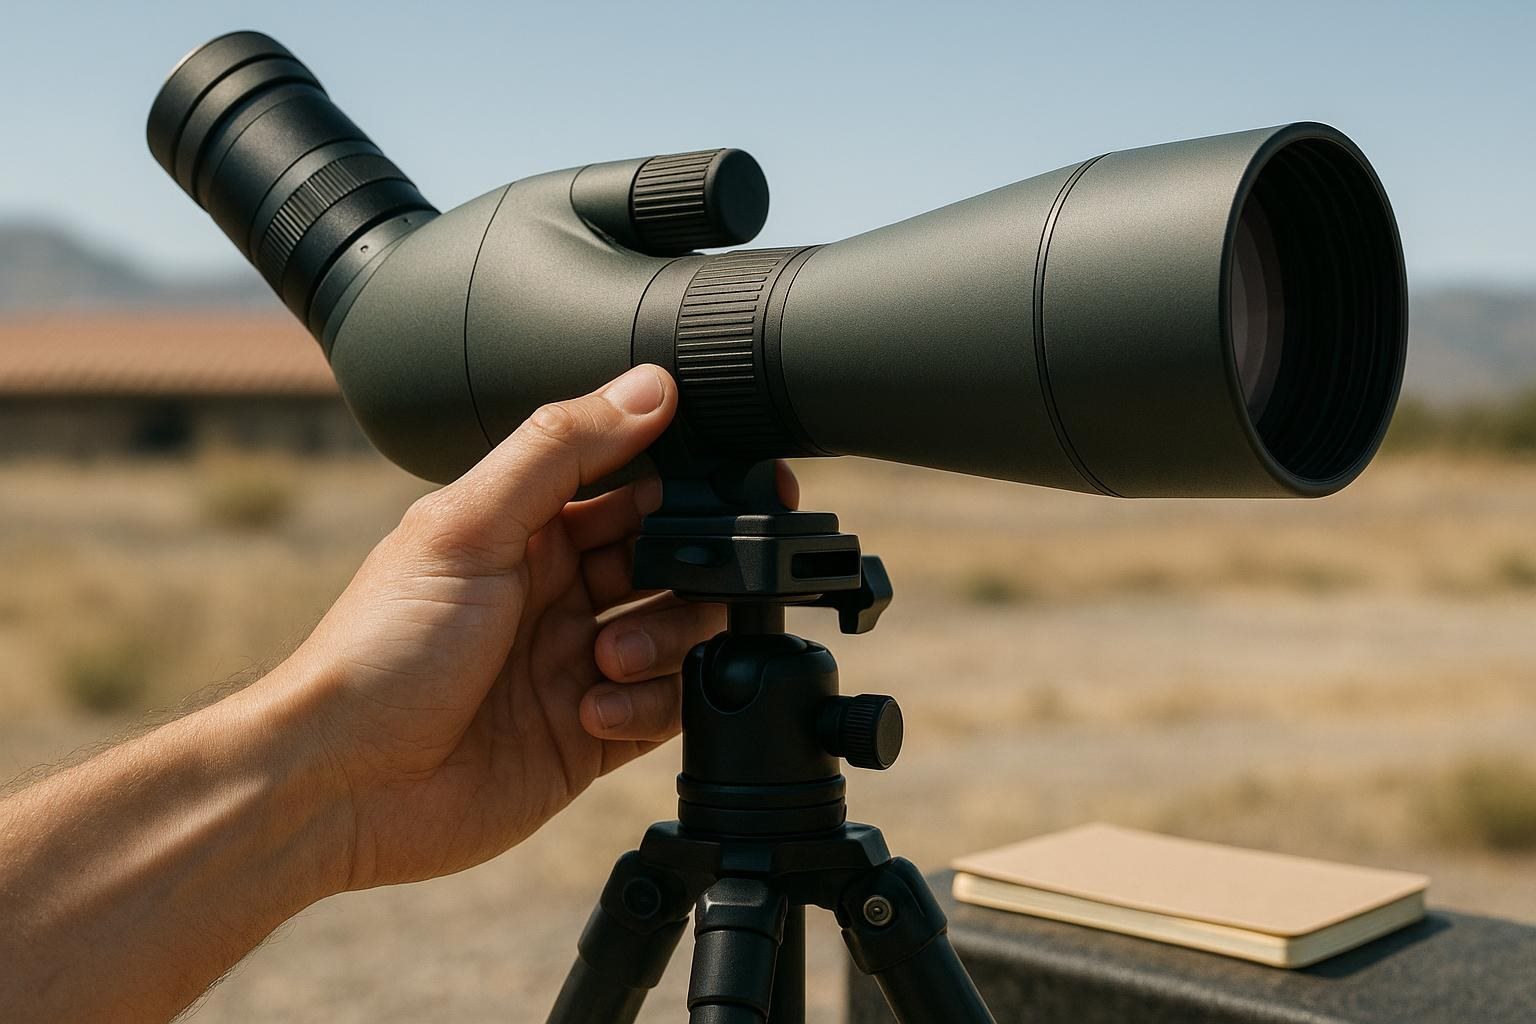
Having a picture through your spotting scope can be very annoying. Of thinking that the quality of your equipment is bad it's important to think about some reasons: changing the focus moving where you are looking from or not thinking that your gear is the problem. Things like not focusing heat making the air wavy shaking or not setting things up correctly can all make the picture soft. These can be hard to tell apart. A simple check can help you find the problem before you spend money on equipment or make decisions based on views.

Understanding Image Stability

When you see a picture the first thing to do is look without touching the focus. Find something thats clear and not moving. These could be the lines on a sign away the edge of a roof or the shape of a tree that is easy to see. If everything is a little blurry but the details do not move it is more likely that the problem is with the focus or the lens being dirty.

If you see the edges moving getting bigger or sometimes getting clearer and then getting blurry again you might be seeing the effect of heat. Warm places like roads or rocks make the air above them hot which can make the picture look different. This is often more visible when you use a magnification. A good question to ask is whether the picture becomes steady enough for what you need to see.

Differentiating Between Focus Error and Atmospheric Effects

One mistake is to change the focus when there is a lot of heat making the picture shake. After making one change wait a bit to see the picture. A series of changes can mix up what is getting better and what is just changing.

Whenever you can compare your target from distances or heights. Some surfaces react differently to the weather; a vertical line close by a roof and a shaded object might not all be affected the way. If a cooler shaded part is easy to see while the sunny parts are not as steady it is probably the weather, not your equipment.

Try using a magnification. You might lose some detail. You might get an reliable picture. Higher magnification is only helpful if the weather is good the support is good and the object you are looking at has a lot of contrast.

Checking Your Setup Before Blaming the Equipment

Before you think your equipment is the problem make sure your spotting scope is set up properly. Put the instrument on the support you plan to use and stop any movement. Make sure the tripod head is tight enough to stay in place without making it hard to control. Check that the part where the scope is placed is secure; even a little bit of movement can make the picture look soft when you adjust the focus or change where you are looking.

Make sure you are standing in the place behind the eyepiece with the part that goes around your eye adjusted well so you can see the picture. Things like a shape, uneven brightness or a small window to look through often mean you are not in the place not that the focus is wrong. This is especially true for people using binoculars, who need to make sure the pictures match up; if they do not it can make the picture look blurry.

When it comes to cleaning the lenses focus on the parts. Dust on the outside might not matter much. Fingerprints, oils or dried bits on the lenses can make the picture worse. Use the way the maker says to clean and do not move any dirt across the lens.

Doing a Test with a Clear Target

To check the performance keep the support eyepiece, target and direction. Write down any changes you make; sometimes the picture can get better because of a hold, a background or a break in the weather.

Start your test with a magnification looking at the parts of the target. Once the details look as clear as the weather allows move your eyes a little without moving the scope. If the edge stays clear and steady it means your setup is probably okay. If it moves check your support. How it is set up.

Next try changing the magnification and focusing again. It is important to know that focusing at one level might not look the same at another. The goal here is to see if higher magnification gives details or just makes the wobbles and heat effects bigger.

Knowing When to Stop Changing Things

If a careful change makes one part better but makes another part worse this might be normal because of how depth of field works not because your equipment is broken. If no change makes the picture steady check the weather and your setup before thinking that something is wrong with your equipment.

Lightweight supports can be easier to carry. They might not be steady enough when you need to focus. On the hand heavy strong setups help with focusing. Might not be as easy to carry for walks to good viewing spots. Thinking about these choices will help you decide what gear to use.

A Quick Check List to Make Sure

Before you trust what you see through your scope ask yourself these questions:

– Is the picture shaking, still or changing when you touch it?
– Does one clear focus change make an edge clearer?
– Does lowering the magnification make the picture steadier?
– Is your support and tripod not moving
– Are the lenses clean and not dirty?
– Does the problem stay the same when you change the object or where you are looking from?

Writing down information like the object your setup, the weather and the magnification level can be very helpful. This can explain what is going on and help with any talks, about warranty, repairs or choosing equipment. By separating the parts that're about focus the weather shaking and where you are standing you will get better at seeing things whether you are shooting, planning something or doing things that need eyes.
infrasniper com 01

Choosing Outdoor Optics by Use Case, Not by Specification Sheet: The Details That Matter Most

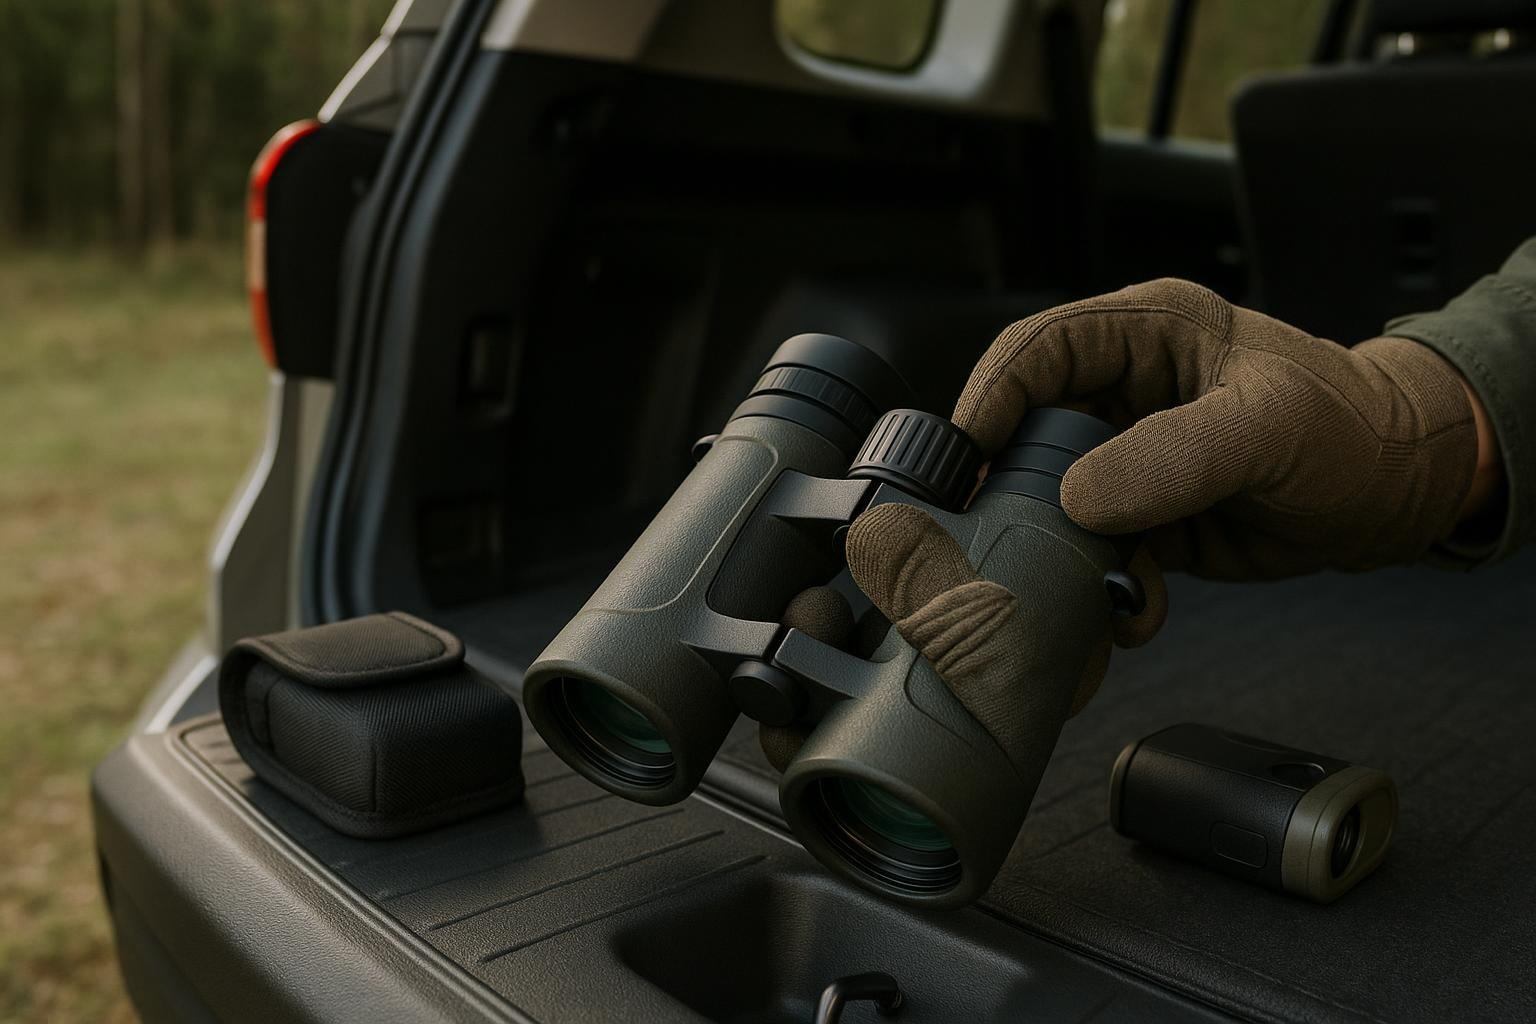
Choose the job before choosing the glass. A hunter moving through terrain might need binoculars to spot movement, a riflescope to take a lawful shot and a rangefinder to judge distance. Buying the magnification in each category can make the gear heavier, slower and harder to handle. The real question isn't which optic has the list of specs but which features still work well when hands are cold light is fading and the view is shaky.

Start with the observation problem

Imagine a day on wooded land with clearings. You'll walk between glassing points and return before dark. Most of your time will likely be spent scanning so binoculars will play a role than a scope. A wide comfortable view is easier to hold while standing and less tiring during repeated searches.

Ask what you need to identify: movement, antler shape, a trail marker, a distant target board or a landscape feature. The answer affects magnification, field of view focusing behavior and size. Higher magnification can show detail under the right conditions but it narrows the view and makes hand shake more obvious. A compact optic may also be carried willingly. Which matters if you're not going to use it all day.

Note the distance you expect to observe the usual light conditions and whether the optic will be supported. This keeps the choice tied to the job at hand.

Match each optic to its moment

The same outing shows why different tools exist. Binoculars are best for scanning and getting your bearings. A spotting scope works well for studying a feature from a fixed spot especially when mounted on a tripod. A riflescope belongs to the sighting system of a firearm. Should be picked for safe lawful use, mounting, eye relief and the positions it will be used in.

A rangefinder answers the distance question. Doesn't replace a steady view or good judgment. Its usefulness depends on whether the surface you're measuring can be read. Reflective branches, steep angles, thick brush and low visibility can mess up a reading.

Night vision adds another layer. Decide if you need to observe, navigate or identify something. Consider how illumination, battery life mounting and local rules affect your plan. Rules about hunting firearm use, artificial light and night-vision gear vary by area and season. Always check official guidance before using such gear in the field.

Treat handling as a performance specification

An optic that looks impressive on a shelf may feel awkward after hours in the field. Test the focus control, diopter adjustment and whether you can operate features without losing your view. Try it with the gloves, headwear and eye protection you normally wear.

Balance matters more than weight. A light optic that's front-heavy can get tiring fast. A heavier model might feel steadier or sit better on a support. With a spotting scope check how the tripod connects and how the body moves when you adjust focus.

For a riflescope make sure the mounting system, tube size, eye relief and adjustment controls work with the firearm and your setup. A bad position can lead to handling and make consistent shooting harder.

Read specifications as clues, not verdicts

Magnification, size, field of view close-focus distance and light transmission all matter, but none tells the full story. Magnification only helps if the image stays clear and steady. A larger objective can give a view in some situations but it adds bulk and changes how the optic balances.

Resolution isn't the same as what you see. Glare, haze, reflections, poor contrast and color fringes can hide details that a number suggests. Edge sharpness matters when scanning. Central clarity may be more important when focusing on one thing.

For reticles and controls simplicity can be an advantage. Pick features you understand. Can check, not just ones you pay for but never use.

Verify before trusting the view

Test your optics before a trip. Indoors check for dust scratches, uneven focus, loose parts and damaged seals. Look at a high-contrast object at distances then repeat the check outdoors in daylight. Move across a background to spot glare or reflections.

Use the instrument the way you expect to use it. Scan from both supported and unsupported positions. Adjust focus with one hand. Check if the image shifts when you change magnification. With binoculars make sure both barrels blend into one image without strain. If your eyes tire quickly the issue may be fit or adjustment not lack of magnification.

For a riflescope confirm the mounting eye relief, reticle visibility and repeatable adjustments through a lawful process. Make sure the rangefinder reading matches a known distance when possible. Stop using any gear that shows damage, inconsistent adjustments or a broken seal until it's been checked.

Build the kit around the walk back

If the optic will be carried through brush exposed to rain and used during a pause caps, a secure strap, a protective case and weather resistance may matter more than another step up in magnification. Keep batteries fresh. Store spares where you can reach them without unpacking everything.

A practical checklist before a trip is short:

– Confirm the observation task and the light conditions you expect.
– Check fit, balance, focus and controls with your normal clothes and gloves.
– Inspect lenses, seals, mounts, straps and battery compartments.
– Verify the view outdoors using a known feature or distance.
– Confirm local rules for hunting, firearms, artificial light and night vision.
– Carry only the instruments that solve separate problems.

The best choice is not one-size-fits-all. Compact binoculars may be the key on one trip. A supported spotting scope, rangefinder or low-light device may earn its place on another. Define the task first compare specs and verify the gear in real conditions. That order builds a reliable kit than chasing the biggest number, on the box.